Steps for Ma and Pa’s New House (Installed!)
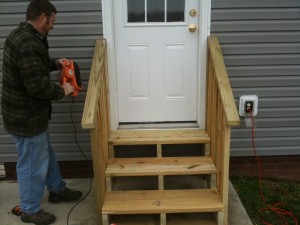
Yesterday my brother and I took the folks to their new house so they could check it out for the first time and so we could install the steps and handrails that I had made to replace the broken ones. My sister was there to meet us and she had pulled the old steps out of the way. Luckily for us, the new stringer and treads mated perfectly to the 2×4 pieces that were originally on the house to hold the previous steps to the house. We set to screwing on the hand rails after that. It all did fit quite well. We used a cordless impact driver that I got for my birthday a few days earlier. It was noisy, but set the deck screws in nicely without stripping out the bit or the screw heads. I’ll maybe do a post later comparing it to my old drill that I used for most of the deck.
My brother took this picture of me sanding down the handrails.
Frame Project
My brother and I recently helped a friend with creating a frame for a special project. There were a few requirements though..
1. The frame would need to be able to display a particular size art/contents from both sides
2. One side of the frame would need to be removable in order to slide in artwork pieces at a later time
3. On each corner the end treatment would have the look of an exposed bridle joint
4. We would try to assist as much as possible but not do the actual work for him.
The project seemed simple enough – – that was until I started working up the exact measurements and design in Sketchup. I realized that my limited woodworking equipment may not be able to easily accomplish the cuts necessary to make each of the frame parts. A mortising machine would have probably made the job much easier!
Here’s pictures showing each end of the frame piece.
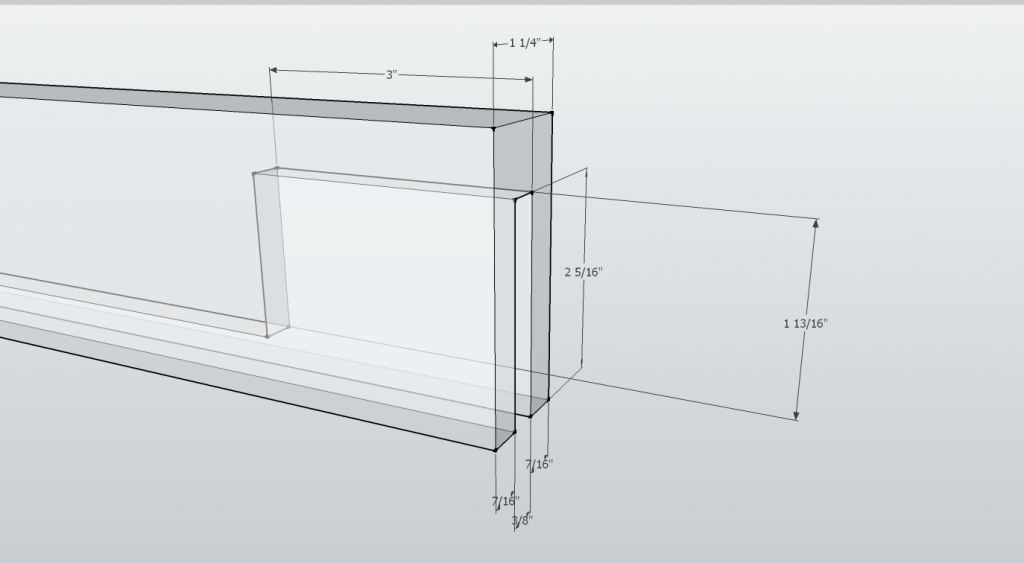
This is the most difficult end of each of the 4 pieces to create. The initial pass with the dado blade along the bottom of each piece created the groove to hold the glass in place, however the depth of the notch at the end to make up the joint is what made it so difficult. No router bits I had or even my dado blade could go that deep. It was time to make sure the 3/8" chisel was sharp!
The other side, shown below, that is the tounge (or tenon) part of the joint which was much easier to make. We set up the dangerous old radial arm saw to cut out the material to the appropriate depth with a stop block to help keep it from going to far and help provide some consistency. Even though the stop block was pretty well clamped to the fence, it experienced a little movement which ended up producing a small crack in one or two of the pieces which we had to re-cut to make even.
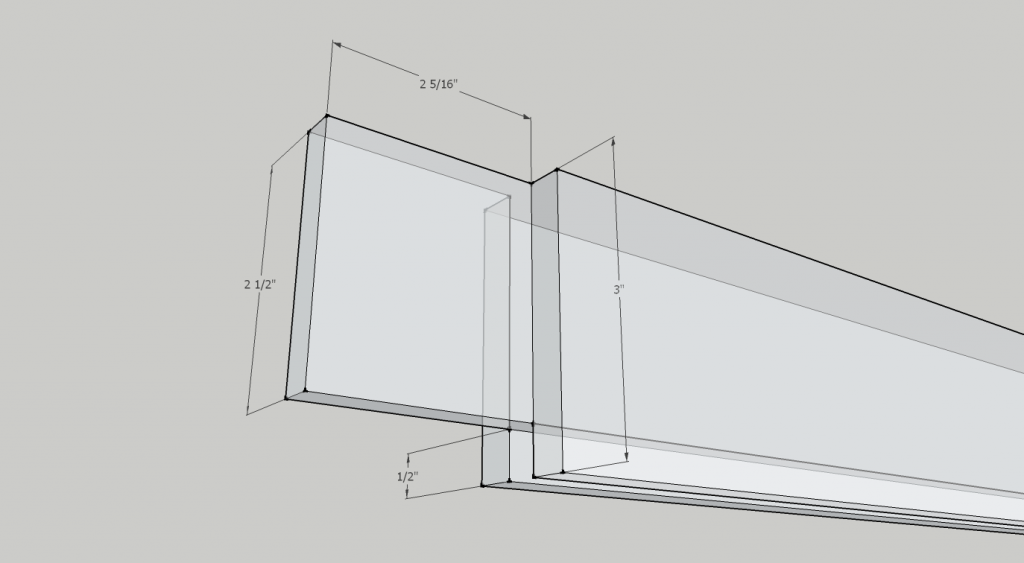
Here's the other end of the piece that we cut with the radial arm saw and the dado blade. It sure was noisy. Plus, because our friend had not really used these power tools before, it was a good one to help create a healthy fear for the potential for injury if one isn't careful.
After all the pieces were cut, we used the 1/2″ forstner bit to make holes in each corner for the dowels which would hold the pieces together. I sure love how nice and clean a hole those bits produce! In the end I think he was pretty satisfied with the results and I hope it gives him the confidence to try and tackle some projects on his own.
Steps for Ma and Pa’s New House
Today I worked on building some back steps that go from the house to the patio of my parents new house. The original steps had entirely collapsed and fallen apart. My brother-in-law suggested I take some measurements and rebuild them. This sounded like a pretty good idea, especially because I had a few pieces of wood left over from the deck that I needed to use up. In the end I did run to Home Depot to get a 2×10 in order to make the stringers out of because the widest piece I had left over from the deck project was a 2×8.
I worked out the plan on some grid paper and figured out the angles and the rise and the run for the steps.
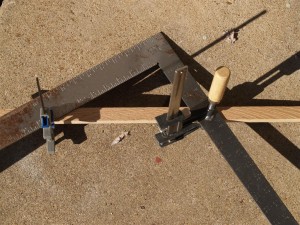
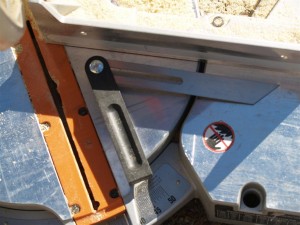
I transferred the angle to the chop saw. I would have liked to figure out how to make the angle 31.6 degrees (because that was where one of those nice pre-set stops is), but that’s the way it goes.
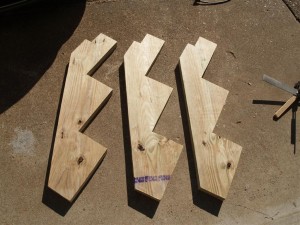
The bandsaw helped me finish off the notches in the stringers that I couldn’t cut with the chop saw. Cutting them all by hand wouldn’t have been any fun.
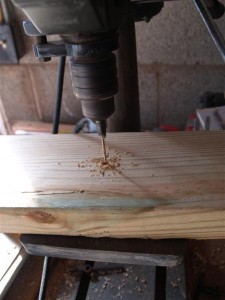
I like using the countersink bits when pre-drilling holes for the screws so that the heads can go below the surface without tearing up the wood.
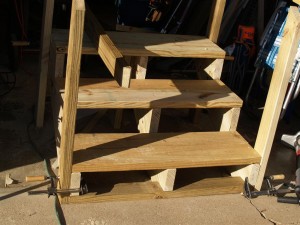
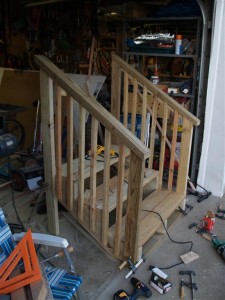
Here’s all the steps attached to the stringers. I saw online that a lot of the stair stringer sets have a 2×4 across at the bottom. I put one in there although I don’t really care for the look of it. The only purpose for the 2×4 being there at the bottom was to keep the stringers from twisting.
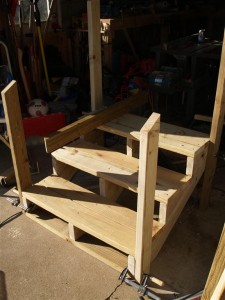
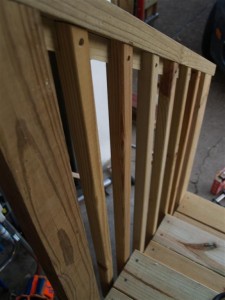
Here I’ve started putting on the ballusters. I think it will help give added stability to the handrails and look nicer than a big gap.
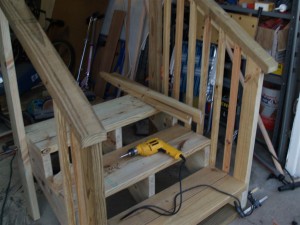
Stairs are basically done, but as you may have noticed, there are clamps holding the railing to the steps. The reason I haven’t screwed them on yet is because the will not fit into the van for the trip down to the house. It may be better to mount them there – and probably against the house when it is in place just in case!
Deck Remodel – Saturday (day 22)
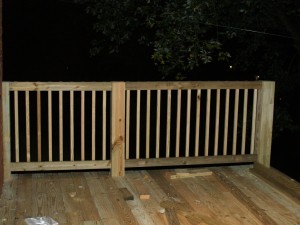
Nearly done. We have the balusters and handrails up.
We finished up putting the handrails today. I started putting up 2x6s but it just didn’t look right being the exact same width as the posts. So we went to the store and bought 2x8s instead. That had almost too much overhang though so I ended up ripping each down by about 1/2″ to get a better look for the overhang.
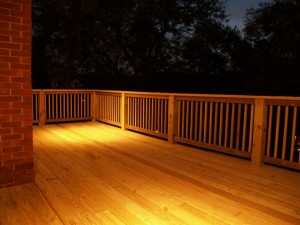
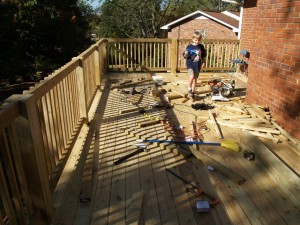
Here’s the deck, cleaned up with the handrail on. I still need to rout a round-over along the rail where the the edge is too sharp where I ripped off the 1/2″ to make the overhang look right.
I still have a lot of sanding to do on the apron/face board which still has a bit of red on it. Hopefully by the time I have that all cleaned up the treated boards will all be sufficiently dry in order to be stained.
Deck Remodel – Wednesday (day 21)
OK! I was able to get 3 sections of railing up tonight. That leaves 3 more sections to go and the top handrail. Tomorrow I don’t think I’ll have a chance to work on it as I have to cook for and watch the kids.
Vic helped me a bit handing me balusters to screw to the rails while he was talking about his day at school.
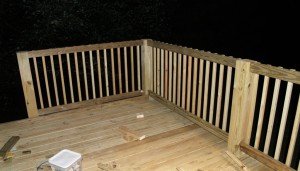
Northwest corner of the deck, with two more sections installed. The shorter posts were modified to extend up to the same height as the others. They’re not going anywhere.
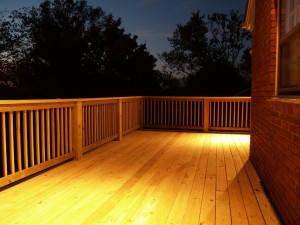
Dark already!
