Steps for Ma and Pa’s New House
Today I worked on building some back steps that go from the house to the patio of my parents new house. The original steps had entirely collapsed and fallen apart. My brother-in-law suggested I take some measurements and rebuild them. This sounded like a pretty good idea, especially because I had a few pieces of wood left over from the deck that I needed to use up. In the end I did run to Home Depot to get a 2×10 in order to make the stringers out of because the widest piece I had left over from the deck project was a 2×8.
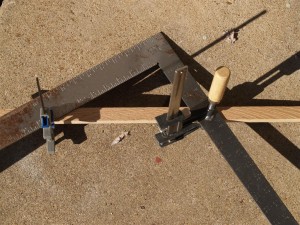
I worked out the plan on some grid paper and figured out the angles and the rise and the run for the steps.
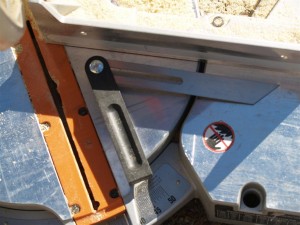
I transferred the angle to the chop saw. I would have liked to figure out how to make the angle 31.6 degrees (because that was where one of those nice pre-set stops is), but that’s the way it goes.
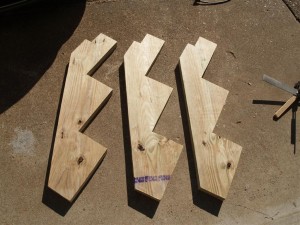
The bandsaw helped me finish off the notches in the stringers that I couldn’t cut with the chop saw. Cutting them all by hand wouldn’t have been any fun.
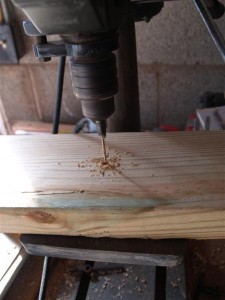
I like using the countersink bits when pre-drilling holes for the screws so that the heads can go below the surface without tearing up the wood.
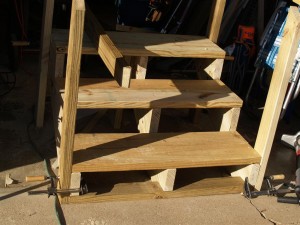
Here’s all the steps attached to the stringers. I saw online that a lot of the stair stringer sets have a 2×4 across at the bottom. I put one in there although I don’t really care for the look of it. The only purpose for the 2×4 being there at the bottom was to keep the stringers from twisting.
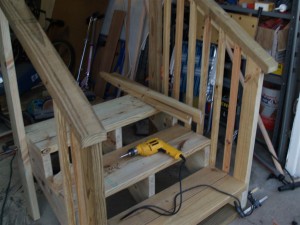
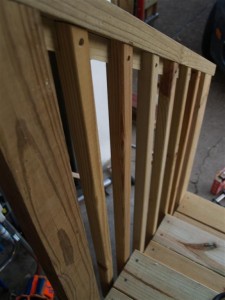
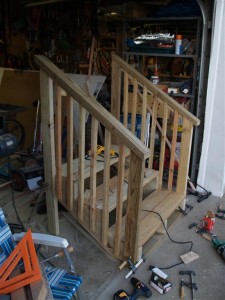
Here I’ve started putting on the ballusters. I think it will help give added stability to the handrails and look nicer than a big gap.
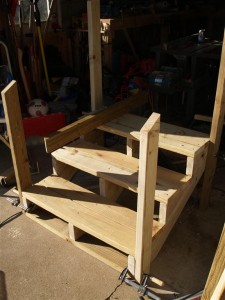
Stairs are basically done, but as you may have noticed, there are clamps holding the railing to the steps. The reason I haven’t screwed them on yet is because the will not fit into the van for the trip down to the house. It may be better to mount them there – and probably against the house when it is in place just in case!
These are looking wonderful! THANK YOU! Did you have all that ballaster & handrail material left from your project?! Seems like alot of wood involved to have left over…..
You’re welcome. I just hope it fits good as I didn’t built it “on site.” Yes.. luckily I had big enough scraps left over from longer pieces from the deck that fit the bill. Some of the pieces I had rejected for the deck due to knots and whatnot but was able to cut them down and avoid too much ugly spots or warping although there’s a little in it. The only piece I needed buy was the 2×10 board to cut the stringers from. Even had enough squirts of construction adhesive in the tube and decking screws left over… it worked out nicely. Wendy suggested that maybe at some point you may want a deck off the back of the house rather than only the patio. If that’s the case, we can maybe even just relocate the steps if they are the same height elsewhere. It would probably be a good idea to stain it some time in the spring to keep it from going all grey and protect it better from the sun. That’s what I am planning on doing with the deck.