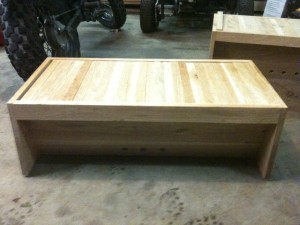
Beehive (2)
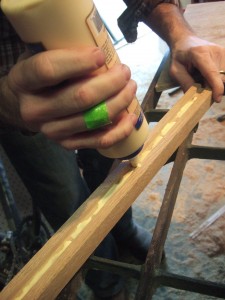
My brother and I tore into the beehives today and pretty much got them completed. That is all except for the legs and lids, which he is planning on taking care of himself. We ended up spending most of the morning and afternoon working on them and made a lot of sawdust in the process. Maybe it is time for one of those nice dust collection systems? Anyway, we started by cleaning up the glue squeeze out from the glue-ups we had put together last week.
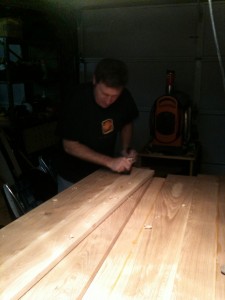
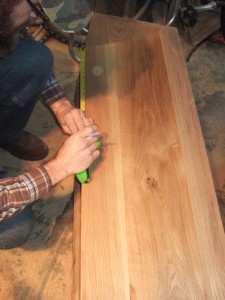
Dried glue doesn’t come off as easy when it is thoroughly dried. We started of with using a hand plane but decided to use a sander to save time.
After cleaning up the glue, we sent the boards through the thickness planer a few times. It definitely gave my planer a run for the money. I could hear it slowing down as the oak is older and very dry. We were planing pretty much the full width (>12″) that the planer is made for. Most of the boards needed to be 12″ in width so we ripped them down to the correct size.
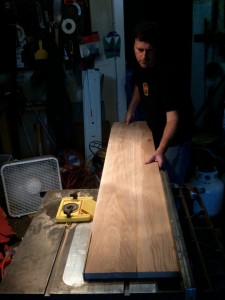
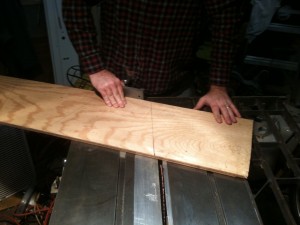
The old Craftsman brand table saw is still working. Here we’ve flipped the featherboard around to keep some even pressure against the fence.
After we got them all ripped to size, we needed to cut them to length. I remembered my old cross-cut sled I had made quite a while back for another project. It would speed up the cuts and save us the trouble of using the chop saw and having to flip the board around, repeat the cut from the other side and hope the kerfs line up.
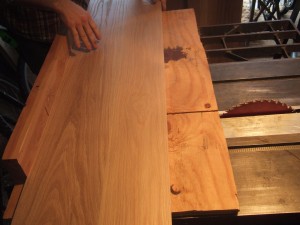
The sled isn’t the most accurate thing as the runners (not pictured) seem to have shrunk with time that ride in the slots in the tablesaw. I have a sheet of HDPE which might make a better set of runners. Definitely a project for another day.
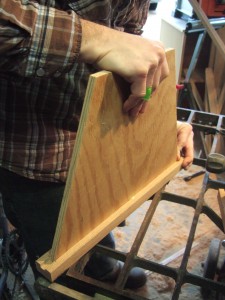
After finishing cutting all the main boards to length, we set to cutting the trapezoidal boards from plywood that make up the follower boards. These follower boards apparently have some sort of purpose in helping control circulation, delineating parts of the hive and preventing the bees from swarming – something beekeepers try to avoid where a portion of the bees decided to leave the hive.
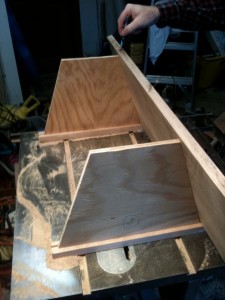
We put a little larger than a 3/8″ dado in the top bars that will receive the follower boards.
Here’s a board inserted.
We are making two hives. One for my brother and one for my sister, so two sets of everything!
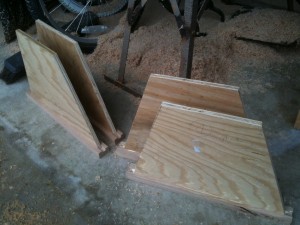
Look at all that sawdust behind them on the floor, in fact it is hard even to see the floor at all..
Now with the follower boards cut, we set to making the top bars.
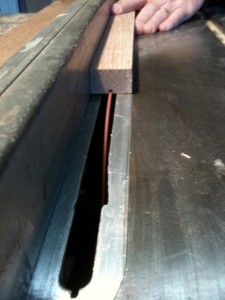
Here we are putting in a small 1/8″ square groove down the center of the top bars. Some starter wax will be melted into the void and the bees will eventually attach their combs to this portion.
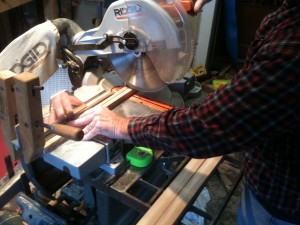
We made quick work of cutting the top bars to length. A wood clamp is what we used as a stop block to make sure all the top bars were the same length.
Once we were done cutting the top bars (I think there were 50 total for both hives), we began building the main body of the hive.
I like when assembly begins… that’s when I feel like we are really starting to make progress.
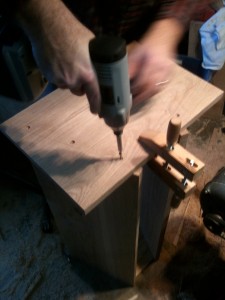
Using a follower board as a guide, we countersunk holes in the end boards and screwed them to the side boards.
The hive will be nice and solid and the oak should make a long lasting hive. We used corrosion resistant deck screws to attach the end pieces.
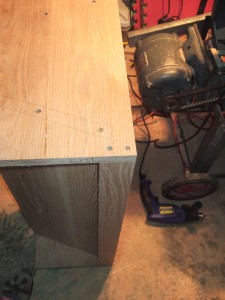
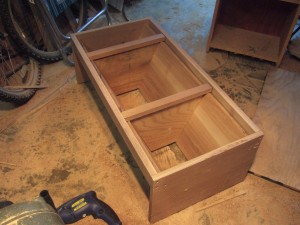
After the ends were screwed on we have added some side rails to keep the top bars nice and contained.
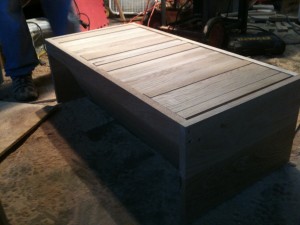
Here’s two pictures, one without and one with nearly all the top bars in place.
With the top bars:
Almost done with the main part of the hive.
I just love using the forstner bit. It makes such a nice clean hole when compared to a regular spade bit.
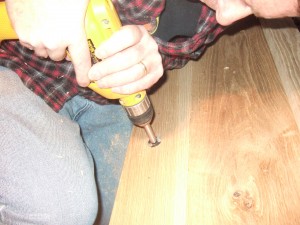
The first few I drilled through, but that oak nearly 7/8″ thick was heating up the bit quite a lot. We eventually got a little smarter and drilled about 4 or 5 smaller relief holes so the forstner bit didn’t need to remove as much material. That really helped out a lot.
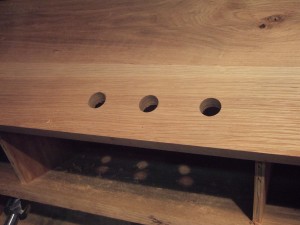
All three holes drilled. I guess corks are typically used in the holes to limit ingress and egress to the hive.
Here, the main part of the hive is completed.
It was getting late already. That’s always how these projects seem to go.
My brother will finish the legs and top cover at his place. I’ll try to post a picture of the fully completed hive once he has that all done.
