Removable Window Shelf for our Cat
Our cat likes to look outside a lot and see what is going on. She’s mainly an indoor cat, but sometimes she hangs out on our deck. When it is too hot or too rainy, the deck is not an option and she will sit on the back of the couch in order to look out the window. This causes the cushions to smoosh down and some of the dreaded cat hair always seems to end up there. So in an effort to try to encourage our cat to find other places to hang out and provide some creative time with the kids, we decided to build a “cat shelf” so that she can look out the window. The only caveat with this was is that we needed to make the shelf “removable” and able to mount on some of our other windows with the same sill and trim throughout the house.
Here’s the video if you’re interested in watching the build process:
Cleaning up a Stanley Jack Plane
There is something satisfying about getting something broken back into working condition. I have a few small planes, but have wanted to get one with a longer sole. I read on a site where the jack plane was probably the first plane that you should have then followed by a smaller plane and how the jack plane’s name was derived from “jack of all trades” meaning it would be a good multi-purpose plane. A new cheaper #5 (jack plane) runs around $70 plus shipping costs. I decided to gamble on getting an old one of of ebay and fixing it up.
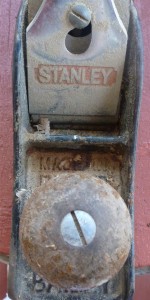
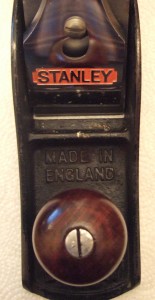
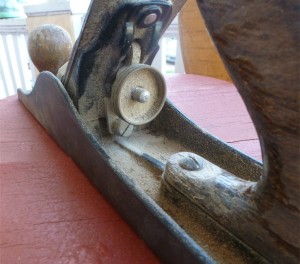
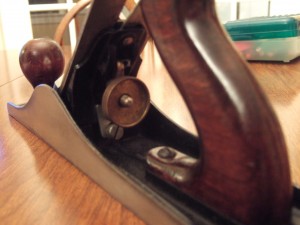
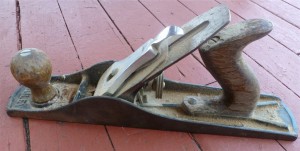
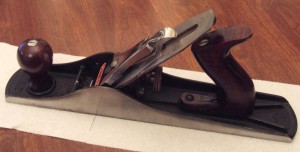
I got this one for around $29 including shipping.I figured if it was trashed beyond repair, I could always get another one and combine the parts. I spent a while in the garage cleaning, polishing it up, refinishing the wood handles and put an initial sharpening on the blade. I’ll need to try to get it a wee bit sharper before I seriously begin to use it.Here’s some before and after pictures.
(This is probably the worst part of all as I couldn’t get all the surface rust pitting off the bottom). I read where you could take it to a machine shop and have the bottom machined up, but I don’t think that is necessary as it is still “true” and sits nice and flat on a surface. I put on a little wax and buffed it off and I bet it will glide even more smoothly than some of my other smaller planes.
Now for the top views:
Here’s the adjustment knob and the back handles. I think if I used some brass metal polish (brasso?) the inside of the brass knob would shine better, but I don’t have any so that will have to wait. I used some oil first on the handles and let that soak in for a day. Then I just used some Deft brand lacquer finish on the wood. Two coats felt sufficient to me. One thing that I like besides the smell of the lacquer is that it dries so quickly. You can get on with your work!
and then
And finally from the side:
Home-built Lawn Aerator – Part 2
Well, after mowing today I decided to hook up the aerator for a few spins around the yard. It rained yesterday so the ground is nice and soft which probably helps. Here it is hooked up to my tractor. You can see my son’s shoe in the upper right corner of the picture… now how […]
Home-built Lawn Aerator and Roller Combo – Part 1
*** Warning*** ***This post has absolutely nothing to do with wood but hopefully it is interesting enough to read anyway *** I’ve decided to try something wacky and build my own lawn aerator. In addition to poking some holes in the grass, I am hoping that it can smash down the mole tunnels at the […]
Printer Stand 2
The weather was finally perfect today so I pulled out the power tools and set to making the printer stand that I had planned out in Sketchup. I first cut all the pieces to length and then started making all the necessary cuts and dadoes to allow the pieces to interlock. I saved the left […]


