Beehive in Action!
Ok.. I know that this isn’t a real woodworking post, but I thought it might be interesting to see the Top Bar Beehive my brother and I built in some of the previous posts in action, so here’s a video of it for you to check out. My brother added some metal legs, a roof, and of course some bees to it.
I’m no expert, but it sure seems to “bee” working just fine!
Printer Stand 2
The weather was finally perfect today so I pulled out the power tools and set to making the printer stand that I had planned out in Sketchup.
I first cut all the pieces to length and then started making all the necessary cuts and dadoes to allow the pieces to interlock.
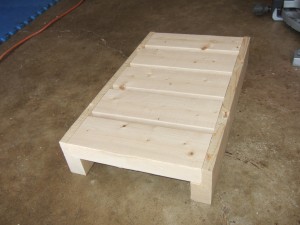
Here’s the top portion. The sides have a rabbet in them to provide more stability than just screwing them from the sides alone.
I saved the left over pieces from the rabbet and decided to use them for the braces farther down the legs.
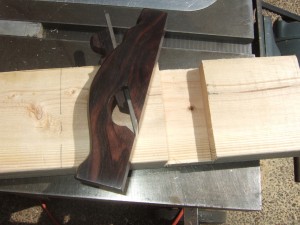
I have to admit, it almost felt criminal using the Japanese shoulder plane that my wife got me for Christmas on common old pine in order to smooth out the dadoes. I really think it should be kept for nicer hardwoods..
Luckily the other parts were wider and I could use the cheapo surform plane for them.
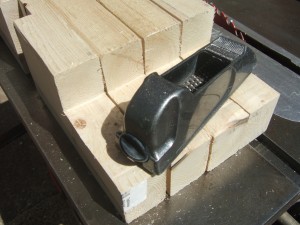
That’s a lot better. Yeah I know, it doesn’t come out as smooth, but this stand is strictly for utility purposes anyway…
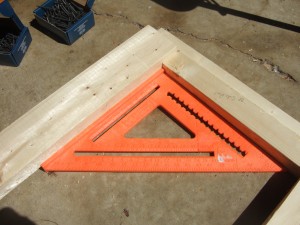
I like using a big rafter square for squaring up things. Maybe just the plastic is nicer to hold than cold metal on a cool morning.
I could have gotten away without countersinking in the screws, but it does make things look a lot nicer. I suppose it helps control the wood from splitting a little bit.
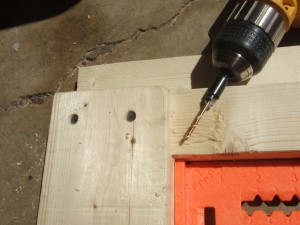
I can’t tell you how much I use these cheap countersink bits. I think it was probably one of the very first things I bought at a Harbor Freight store at least 8 years ago. Someday I may upgrade, but for now they seem to be doing just fine.
I put a little glue in some of the joint even though it probably wasn’t necessary.
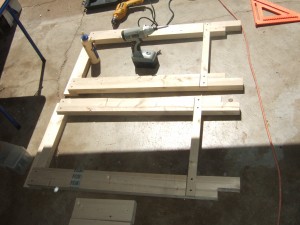
Here you can see the legs assembled. The leftover pieces from the rabbets I used as the lower brace and saved from having to cut into another stud.
I nipped off the corners for the feet even though it wouldn’t really make much of a functional difference.
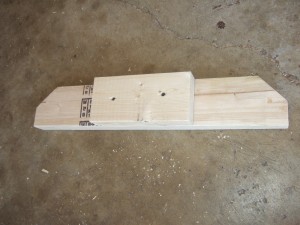
The other block screwed to the foot piece will help hold it in alignment as well as give added stability.
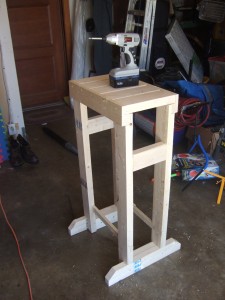
And here’s the stand all finished!
